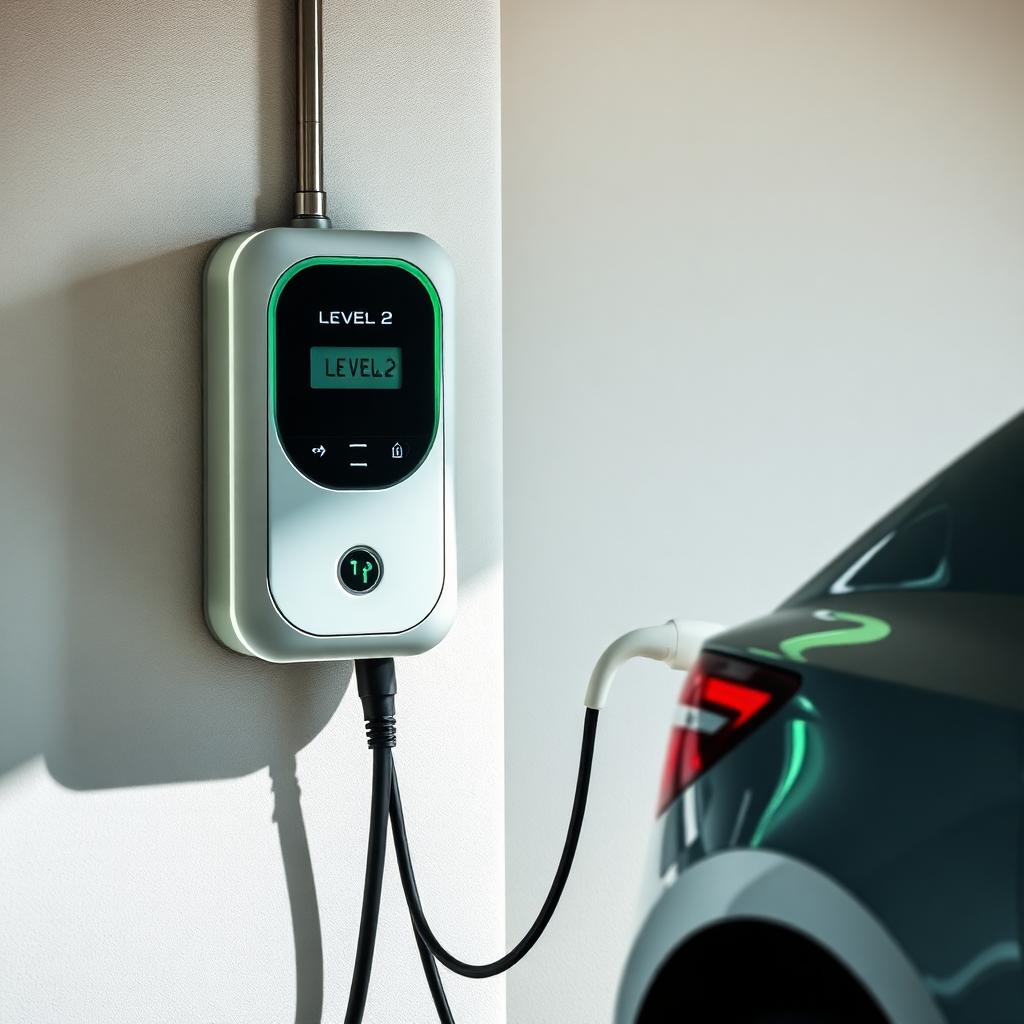
Installing a 240V EV Charger: What Utah Homeowners Should Expect
Panel capacity, permits, timeline, and typical cost range for a Level 2 charger install. We cover when your existing panel is fine and when an upgrade has to come first.
More Utah homeowners are switching to EVs and asking the same question: what does it actually take to get a Level 2 charger in my garage? Here's a straight answer with no marketing spin.
Level 1 vs. Level 2, quickly
Level 1 is the plug that comes in the box. It uses a regular 120V outlet and adds about 4 miles of range per hour. Fine for a plug in hybrid or a very short commute. For a full EV, it's painfully slow. Level 2 runs on 240V, typically 40 or 50 amps, and adds 25 to 40 miles of range per hour. That's the install we're talking about here.
Step 1: Panel capacity check
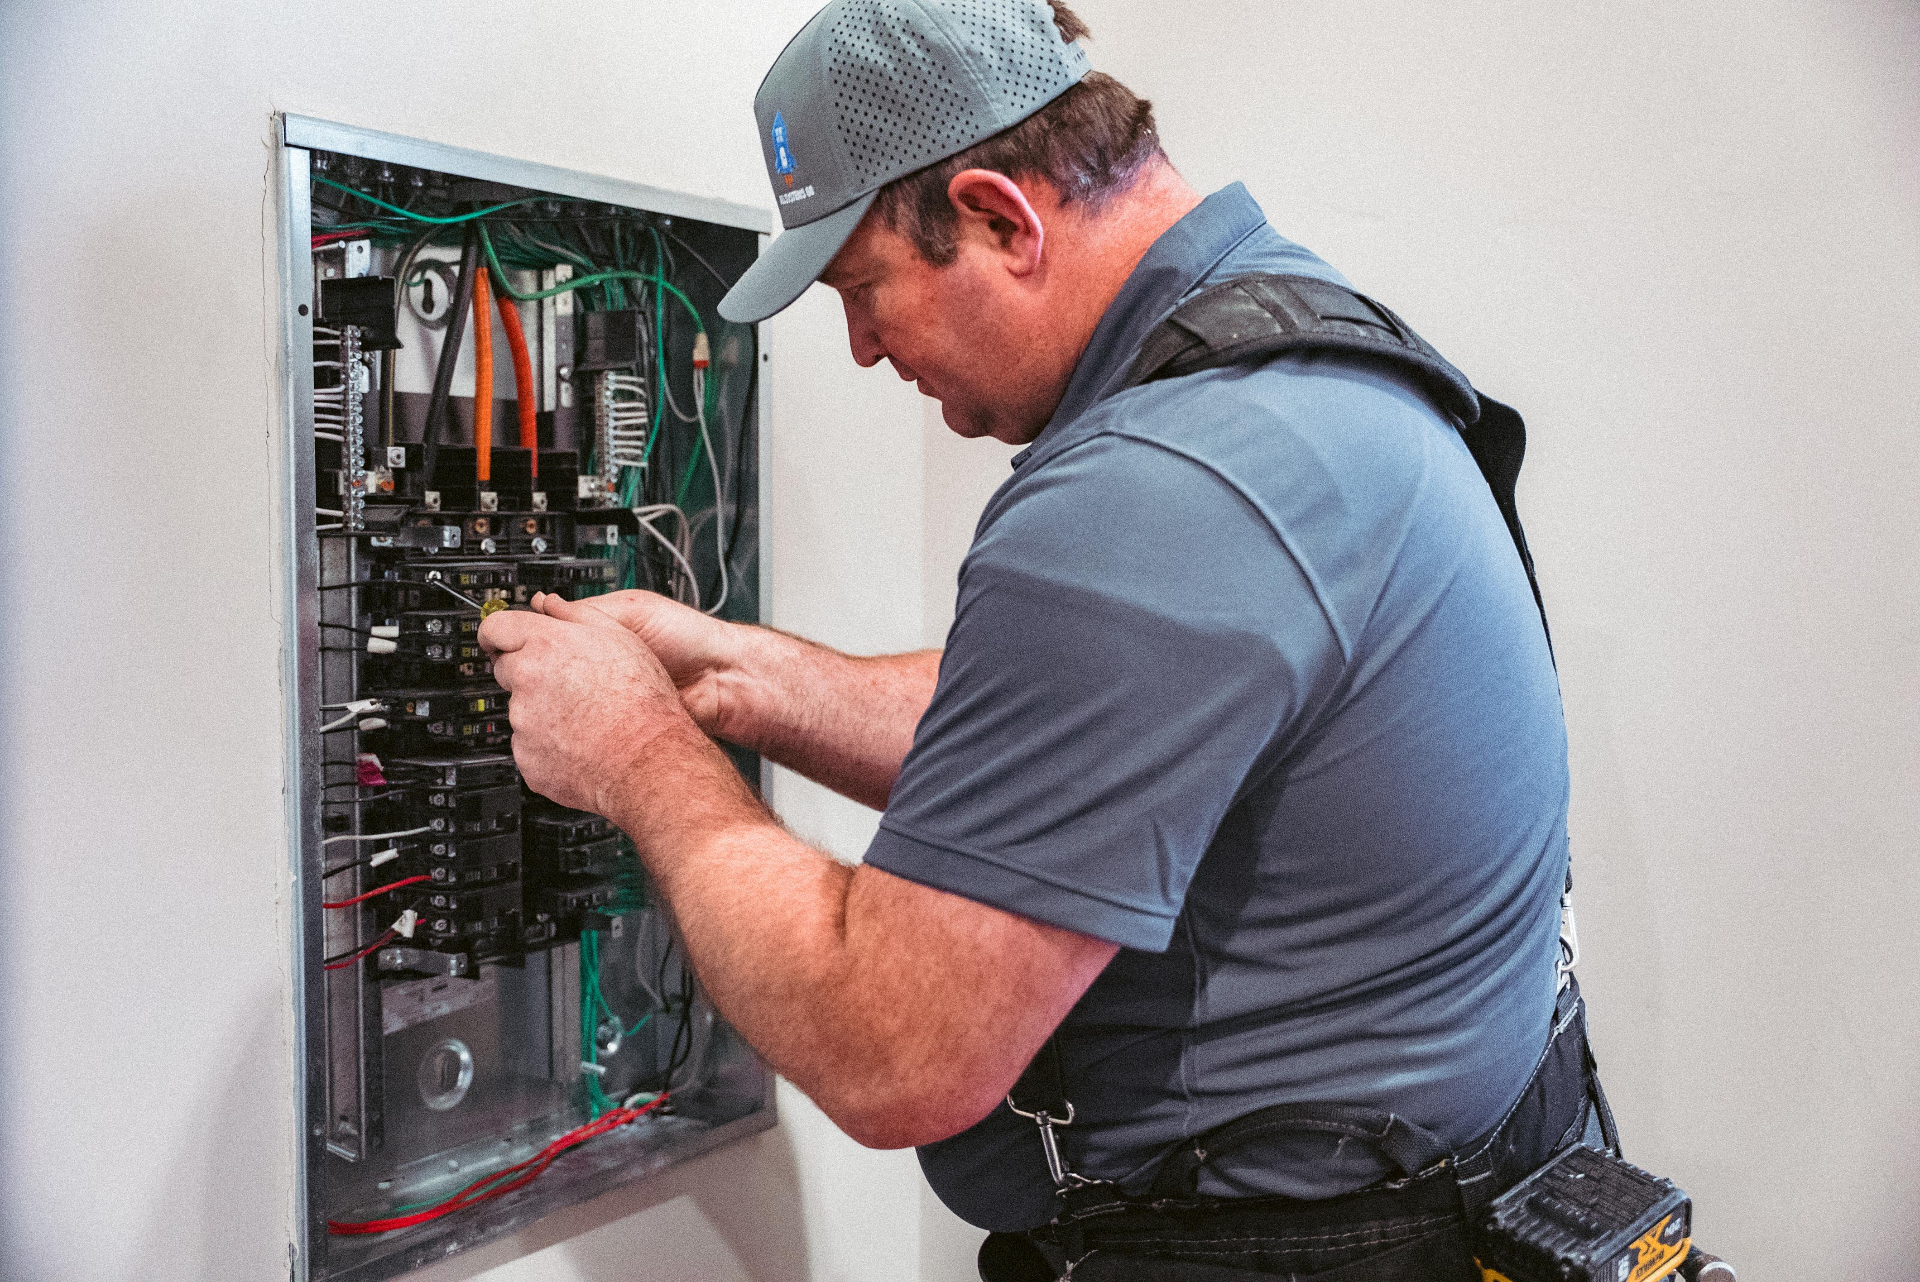
Before we quote a job we look at your electrical panel. Two things matter:
Main service size. Most Utah homes built after the mid 1990s have 200 amp service, which usually leaves plenty of headroom for a 50 amp charger circuit. Homes built before that often have 100 or 125 amp service, which may not.
Available breaker spaces. Even with enough amps, you need two adjacent open slots for the 240V double pole breaker. Full panels can be worked around with a tandem swap or a subpanel.
We run a load calculation per NEC 220 to confirm the existing service can handle the added load. That number, not a gut check, is what determines whether you need an upgrade first.
Step 2: Where the charger goes
Ideal is a wall mount inside the garage on the same wall as the electrical panel. The shorter the wire run, the cheaper the job. Every extra 15 feet of conduit through finished walls, across the ceiling, or around the outside of the house adds labor and material.
Step 3: Permit and inspection
EV charger installs require a permit in every city we work in along the Wasatch Front. That's not us being cautious, it's code. A permitted install gets inspected by the city, which protects you at resale and keeps your homeowner's insurance intact if there's ever a fire. Beware of anyone quoting a cash job with no permit.
Typical cost ranges
For a straightforward Utah install, budget these ranges. The charger itself is separate and usually customer supplied.
Simple install, panel on shared garage wall, 15 ft or less: $900 to $1,400
Standard install, 20 to 40 ft of conduit, one or two turns: $1,400 to $2,200
Long run or exterior routing, 40 ft plus: $2,000 to $3,500
Panel upgrade from 100/125A to 200A service (when required first): $3,000 to $5,500
Those are all in numbers including permit and inspection. Utility upgrades from Rocky Mountain Power, if the service drop itself needs to change, are separate and coordinated by us.
Timeline
Most charger installs are a single day job once the permit is pulled. Panel upgrades add a day for the actual swap plus scheduling around the utility for a meter pull. From your first call to charger energized, plan on one to two weeks for a straight install, two to four weeks if a panel upgrade is involved.
What to have ready when you call
The make and model of the charger you want (or ask us for a recommendation)
A photo of your electrical panel with the cover on, and one with the cover off if you're comfortable
Can lights and ceiling fans look like simple upgrades until you get into the attic. Here is what actually drives the price, the code rules that apply in Wasatch Front cities, and how long a typical job takes.
The first cold morning of the season is when furnaces fail and phone lines jam. Run this checklist in late August or September and you will find the problem while it is still a cheap fix.